Description
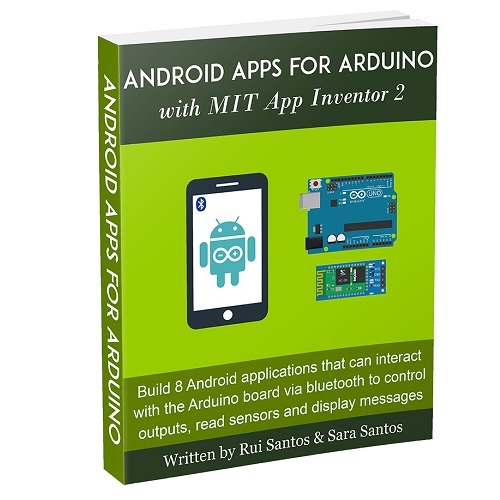
Android Apps for Arduino with MIT App Inventor 2 is a practical course in which you’re going to build 8 Android applications to interact with the Arduino. Each project contains:
- Step-by-step instructions for building the app design and logic
- Downloadable code and schematics
- .aia files (files that you can upload to the MIT App Inventor 2 software to edit the app)
- .apk files (files that you can move to your smartphone for quickly running the app)
Table of Contents
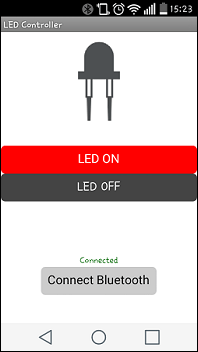
In this project, you’re going to create an Android app that turns an LED on and off.
- Make a simple design with buttons, listpicker, images and labels;
- Build the blocks that send information to the Arduino to turn an LED on and off;
- Program the Arduino to receive the information from the app;
- Test your app in real time while building it;
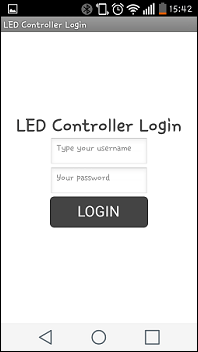
This project is a continuation of Project 1 with an additional feature. The LED controller screen is password protected. To control the LED, you must enter a valid username and password.
- Add a password and textbox field to your app design;
- Build apps with multiple screens;
- Switch between the app’s screens.
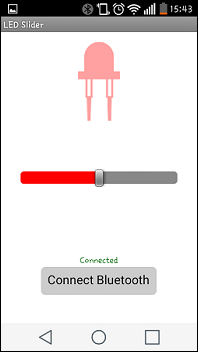
This project shows you how to build a slider that controls the LED brightness. Your app also has an LED image that changes color while you move the slider.
- Add a slider to your app design;
- Read the slider values and send them to the Arduino.
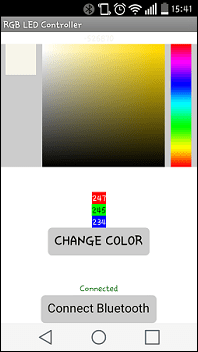
In this project, you’re going to control the color of an RGB LED using a color picker - you’ll build the color picker to set the color.
- Build a color picker for you app;
- Deal with colors: get colors from pixels and split colors into RGB LED parameters;
- Use RGB LEDs with Arduino.
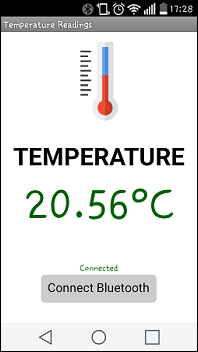
In this project, you’re going to read the temperature with the DS18B20 temperature sensor and display the values on the app.
- Read temperature with DS18B20;
- Send the temperature readings from the Arduino to the Android app;
- Display updated temperature readings in Celsius or Fahrenheit.
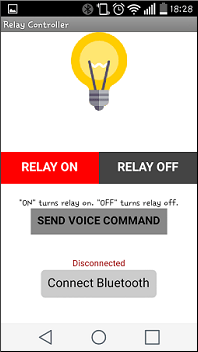
In this project, you’re going to build an Android app that controls a lamp connected to a relay using three different methods: with ON and OFF buttons, with voice commands and by shaking your smartphone.
- Send voice commands;
- Recognize voice commands and send the information to the Arduino;
- Trigger an event when you shake your smartphone;
- Use the relay module with Arduino.
Note: we provide the LED version of this project, if you’re not comfortable dealing with relays.
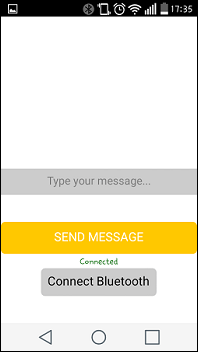
In this project, you’re going to build an Android app that allows you to write messages and send them to the Arduino to be displayed on an LCD.
- Add a textbox to your design to ask for user input;
- Send text string messages to the Arduino;
- Display text on the LCD.
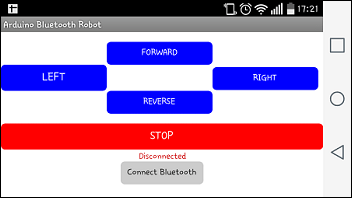
In this project, you’re going to build a Bluetooth remote controlled robot. We’ll also show you how to assemble the robot car chassis kit. Your app will have five controls: forward, reverse, left, right and stop.
- Assemble a robot;
- Control 2 DC motors via Bluetooth;
- Send different commands for each robot control.
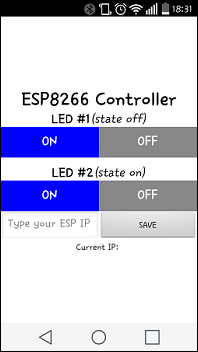
This is an extra project to show you how to build an Android app to control the ESP8266 outputs. We’ll start with an introduction to the ESP8266 WiFi module, followed by a blinking LED project to get you familiar with the ESP8266. Then, we’ll build an Android app to control two LEDs connected to the ESP8266.
About the Authors

Hey there, I’m Rui Santos, founder of the Random Nerd Tutorials blog. Since establishing in 2013, Random Nerd Tutorials has become a trusted place to learn electronics and programming online. Android Apps for Arduino with MIT App Inventor provides step by step instructions to build Android apps for the Arduino. MIT App Inventor is one of the easiest ways to build your own Android apps. You don't need to be an Android developer to build awesome apps!

Hi! I’m Sara Santos and I work at Random Nerd Tutorials with Rui. For the last years we’ve been working hard on making easy-to-follow online tutorials and projects to make electronics and programming accessible to anyone. Our aim with this course is to get you familiar with the steps you need to follow to create your own applications with MIT app Inventor software to control the Arduino.
