Hey guys!
I’ve been following your work around the ESP32 for a while now. And I continually notice your habit (or preference?) of systematically using the Javascript object XMLHttpRequest. And I must admit that I find it hard to understand this trend, when there are nowadays other, more efficient, lighter and above all faster ways to manage asynchronous interactions between a server and clients. For example, Javascript now offers the more modern Fetch and Async/Await APIs. You can take a look at one of my GitHub project which uses the Async/Await Promises for example:
ESP32 Asynchronous Web Controlled Thermostat
I had made this mini-project for Yves B., following a discussion on RNT Lab, to help him start his own project. I had also posted a reference to my project to share it with your community.
But there is another technology supported by Javascript even more interesting: the WebSocket protocol. Today, I would like to shed some light on how to implement it efficiently for the ESP32. You’ll see that it has only advantages over other techniques. I have recently written a comprehensive tutorial on the subject:
ESP32 Remote Control with WebSocket

I’m sharing it here, because I think it may also be of interest to most of your readers.
If you take the time to read it, feel free to share your opinion with me on this thread.
My intention is not to overshadow your work, quite the contrary, but rather to add to it what I think is interesting. I hope that you’ll welcome my approach.
Best wishes,
Steph
Hi Steph.
Thanks for sharing.
I’ve already answered you in our comments section.
We’ll take a look at it and integrate websockets in our projects as it seems a great option for many of our applications.
BTW, great tutorial that you’ve written 🙂
Regards,
Sara
Hi,
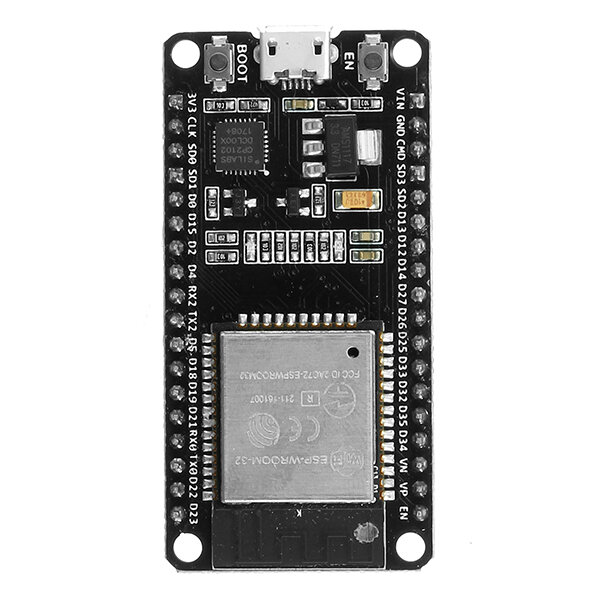
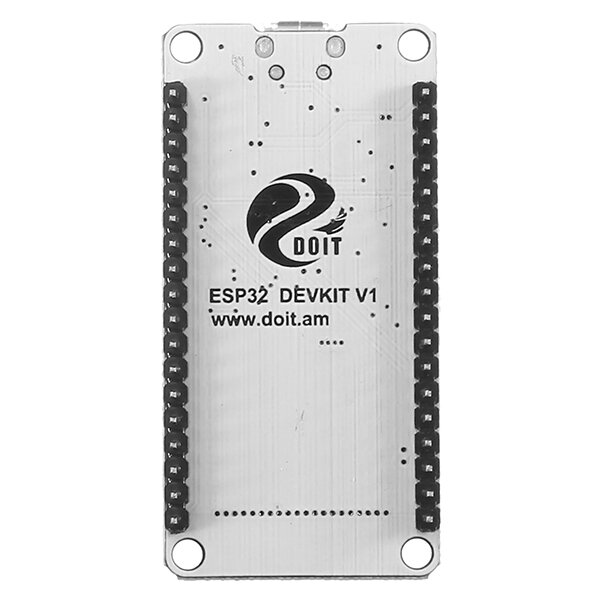
I am trying to get my card esp32 wroom on Platformio…. It is not on the list so Platformio refuses to upload the sketch.
Regards,
JPD
Hi,
This did the job:
I created esp32-wroom.json in C:\Users\user1\.platformio\platforms\espressif32\boards
---- begin ---
{
  "build": {
    "arduino":{
      "ldscript": "esp32_out.ld"
    },
    "core": "esp32",
    "extra_flags": "node32s",
    "f_cpu": "240000000L",
    "f_flash": "40000000L",
    "flash_mode": "qio",
    "mcu": "esp32",
    "variant": "Node32s"
  },
  "connectivity": [
    "wifi",
    "bluetooth",
    "ethernet",
    "can"
  ],
  "debug": {
    "openocd_board": "esp-wroom-32.cfg"
  },
  "frameworks": [
    "arduino",
    "espidf"
  ],
  "name": "node32s",
  "upload": {
    "flash_size": "4MB",
    "maximum_ram_size": 327680,
    "maximum_size": 4194304,
    "require_upload_port": true,
    "speed": 460800
  },
  "url": "https://www.banggood.com/ESP32-Development-Board-WiFi+bluetooth-Ultra-Low-Power-Consumption-Dual-Cores-ESP-32-ESP-32S-Board-p-1109512.html?rmmds=search&cur_warehouse=USA",
  "vendor": "Aiyarafun"
}
----- end -----
JPD
Hi Jean-Pierre,
If your board matches the one pointed to by the url property in your JSON descriptor :


It is available in PlatformIO (as in the Arduino IDE) under the name DOIT ESP32 DEVKIT V1 :

This is precisely the config I used in my tutorial. Watch the project setup video:
https://m1cr0lab-esp32.github.io/remote-control-with-websocket/platformio-ide/
Too bad… you can’t embed a video :-/
Hi,
What can I do if platformio does not chosse the right port even is I desabled it?
Wher can I set the port manually?
JPD
You can have a look in the doc to see the options you can add in the configuration file platformio.ini:
Upload options
Hi,

<div id="led" class="%STATE%"></div>

How do you call the  %STATEPLACEHOLDER%  Are they used by javascript(), or
String processor(const String &var) {
return String(var == "STATE" && led.on ? "on" : "off");
}?
Regards,
JPDaviau
REF:https://m1cr0lab-esp32.github.io/remote-control-with-websocket/web-ui-design/Hi Jean-Pierre,
It has nothing to do with Javascript…
The %STATE% marker is used by the template processing engine of the ESPAsyncWebserver library. This issue is discussed in Template processing section of Web Server Setup chapter in the tutorial:
Go take a look at it
You can also take a look at the library documentation that deals with this feature.
Cheers,
Steph
Hi Steph … nice tutorial, but a major plus to microcontrollers is the use of interrupts. If I understand your code correctly, although your button debounce code performs, it requires the loop() to be incessantly run – this could be a problem for other code that is in that section, I would think. Can you do another version using an interrupt instead? … or am I missing something?