Description
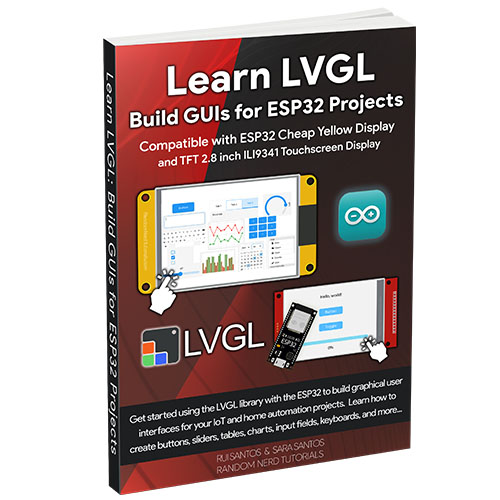
Get started using the LVGL library with the ESP32 to build graphical user interfaces for your IoT and home automation projects. Learn how to draw buttons, sliders, tables, charts, input fields, keyboards, and more.
The eBook comes with 7 Modules. Each module is dedicated to a specific subject. Here’s a description of the complete Table of Contents.
This Module is a quick introduction to the eBook, providing a general overview of the Modules we’ll cover, the learning objectives, instructions on how to follow the eBook, recommended prerequisites, and the parts required to complete the projects.
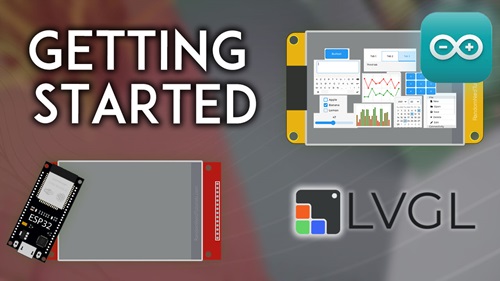
This Module introduces you to the ESP32 Cheap Yellow display and the 2.8-inch TFT touchscreen LCD with the ILI9341 driver chip with a resistive touchscreen. You’ll prepare all the libraries and software required to start building GUIs using the LVGL library. Finally, you’ll learn to display text on the screen and detect touch.
- 1.1– Introducing the ESP32 CYD Board
- 1.2 – ESP32 CYD Board Pinout
- 1.3 – Introducing the 2.8 TFT ILI9341 Touchscreen Display
- 1.4 – Quick Introduction to LVGL
- 1.5 – Installing Arduino IDE 2
- 1.6 – Testing the Installation
- 1.7 – Installing Libraries
- 1.8 – Testing the Display
- 1.9 – Testing the Touchscreen
- 1.10 – Calibrating Your Touchscreen
- 1.11 – Troubleshooting
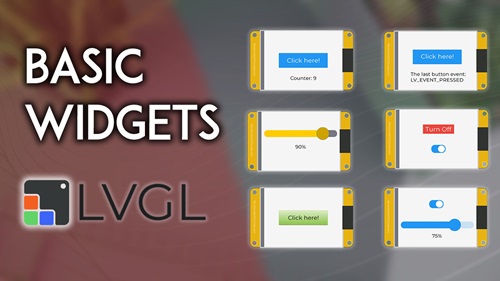
You’ll learn how to display basic widgets on the screen: text, buttons, switches, and sliders, and how to make something happen when you interact with them like changing something on the interface and controlling outputs.
- 2.1 – Creating a Basic Button
- 2.2 – Creating a Button with Events
- 2.3 – Two-State Button and Toggle Switches
- 2.4 – Styling the Buttons
- 2.5 – Creating a Basic Slider
- 2.6 – Putting it All Together
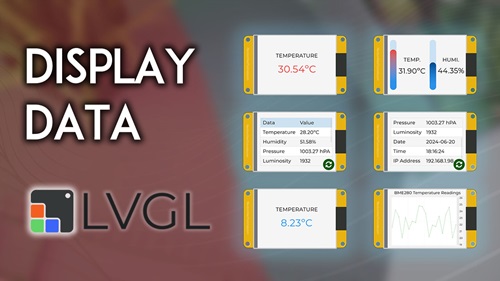
In this Module, you’ll learn how to connect a sensor to the CYD board and how to get and display readings from the sensor. You’ll learn to display the readings in different formats: text, table, vertical bars, and chart.
- 3.1 – Basic Temperature Display
- 3.2 – Display Data from Sensors on Vertical Bars
- 3.3 – Display Sensor Data on a Table
- 3.4 – Display Sensor Data on a Chart
- 3.5 – Display Temperature on a Curved Gauge
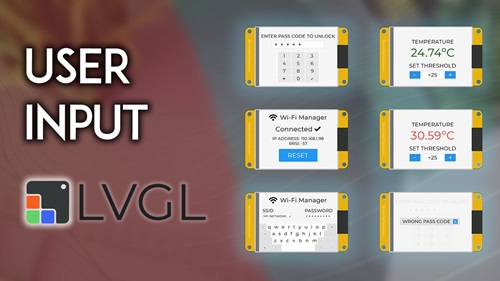
In this Module, you’ll learn how to get user input. We’ll cover drawing a keypad to build a basic locker, a spinbox to set the threshold value to create a thermostat, and input fields with a keyboard to create a Wi-Fi Manager.
- 4.1 – Input Keypad – Basic Locker
- 4.2 – Temperature Sensor Threshold with Input Field (Thermostat)
- 4.3 – Wi-Fi Manager (Inserting Your Network Credentials)
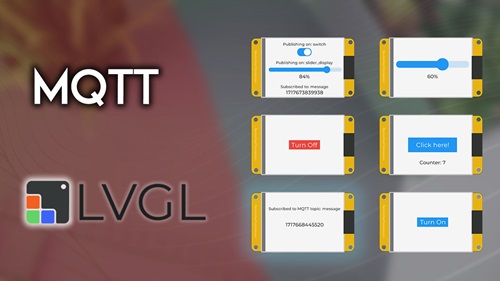
Learn how to integrate MQTT into your project. Publish messages to MQTT topics by clicking on buttons on the screen and display received messages by subscribing to MQTT topics.
- 5.1 – Introducing MQTT
- 5.2 – Set Up Mosquitto MQTT Broker
- 5.3 – Installing MQTT Libraries
- 5.4 – Introducing and Installing Node-RED
- 5.5 – Setting Up the Node-RED Flow
- 5.6 – Publish MQTT Messages (Button, Toggle Button, and Slider)
- 5.7 – Subscribe to MQTT Messages and Display on the Screen
- 5.8 – Putting It All Together: Publish and Subscribe (Synchronize with Node-RED)
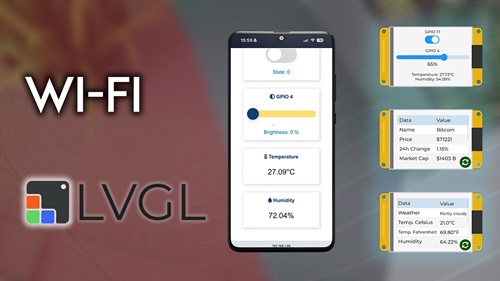
This Module covers how to get data from the internet and display it on the screen. You’ll learn how to add a button to request data and add data to a table. Finally, you’ll learn how to create a web server that synchronizes in real time with the display interface.
- 6.1 – Display Data from the Web
- 6.2 – Synchronizing a Web Server with the CYD Screen
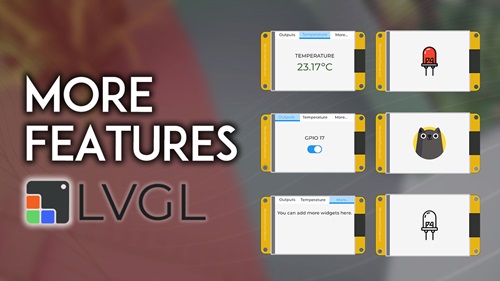
This Module covers how to display custom images on the screen and how to make them clickable so that you can interact with them. We’ll also cover how to display tabs so that you can organize multiple screens with different widgets on the GUI.
- 7.1 – Displaying an Image on the Screen
- 7.2 – Display and Interact with Images
- 7.3 – Creating Tabs (Multiple Screens)
- 7.4 – Integrating the MicroSD Card, Display, and Touchscreen
- 7.5 – GPS Display and Logger
