Description
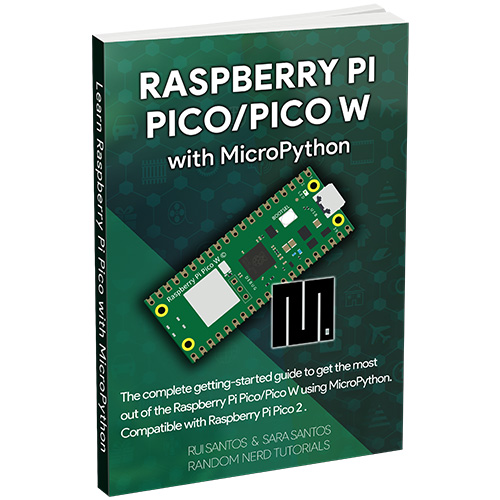
The ultimate guide to mastering the Raspberry Pi Pico/Pico W microcontroller board using MicroPython programming language.
This eBook is divided into 13 Modules. You can check the current Table of Contents below.
This Module is a quick introduction to the ebook, providing an overview of the modules covered, the learning objectives, instructions on how to follow the ebook, recommended prerequisites, and the parts required to complete the projects.
This Module is an introduction to the Raspberry Pi Pico microcontroller board. We'll look at its main specifications, familiarize you with its hardware, and explore its GPIOs and different functions. You'll learn how to power it and the various ways to program it. In summary, we'll cover all the basic subjects you need to know to get started.
- 1.1 - Introducing the Raspberry Pi Pico
- 1.2 - How to Program the Raspberry Pi Pico?
- 1.3 - Understanding the Raspberry Pi Pico Hardware
- 1.4 - Raspberry Pi Pico Pinout
- 1.5 - Powering the Raspberry Pi Pico
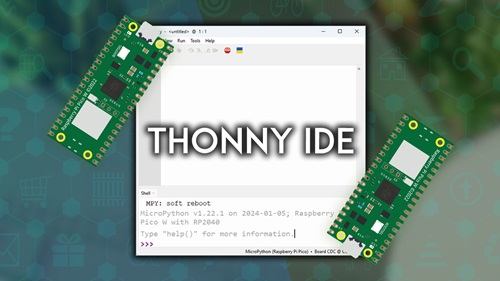
In this Module, you'll install the software required to program the Raspberry Pi Pico with MicroPython (Thonny IDE), you'll learn how to establish a connection with the board, upload code, and run your first program.
- 2.1 - Setting up the Development Environment
- 2.2 - Installing MicroPython Firmware
- 2.3 - Writing and Running your First Program
- 2.4 - Programming the Raspberry Pi Pico using VS Code (for advanced users)
Learn the basics of MicroPython programming language, a re-implementation of Python programming language targeted to microcontrollers. We’ll cover basic, but fundamental concepts, like syntax, variables, functions, classes, modules, and more.
- 3.1 - Introducing MicroPython
- 3.2 - Basic MicroPython Syntax
- 3.3 - Functions in MicroPython
- 3.4 - Classes, Objects, and Modules
- 3.5 - String Formatting
You’ll learn how to use the GPIO functionalities and how to interface basic electronics components. We include controlling digital outputs, outputting PWM signals, read digital inputs and analog inputs. You’ll also learn about interrupts and timer events.
- 4.1 - Digital Inputs and Digital Outputs
- 4.2 - Analog Inputs
- 4.3 - PWM - Pulse Width Modulation
- 4.4 - The Internal Temperature Sensor
- 4.5 - Interrupts
- 4.6 - Timers and Event Handling
In this Module, you’ll learn how to connect and get environmental data from some of the most popular sensors in DIY hobbyists' projects. We’ll cover temperature, humidity, pressure, and light sensors.
- 5.1 - DHT11/DHT22: Getting Temperature and Humidity
- 5.2 - DS18B20 Addressable Temperature Sensor
- 5.3 - BME280/BME680 Environmental Sensors
- 5.4 - LDR and BH1750 Light Sensor
Interface and display data on the most basic, cheap, and easy-to-use display modules. We’ll cover the OLED and the LCD display.
- 6.1 - OLED Display
- 6.2 - LCD Display
Learn how to use the Raspberry Pi Pico output pins to control actuators like motors and a relay module. We cover three different types of motors: DC motor, stepper motor, and servo motor.
- 7.1 - Servo Motor
- 7.2 - DC Motor
- 7.3 - Stepper Motor
- 7.4 - Relay Module
Interact with the Raspberry Pi Pico filesystem and learn how to handle files and folders. We also cover how to use the Pico’s filesystem to log data permanently into a file (datalogging projects). Finally, you'll also learn how to read and write data to a microSD card to save data using the Raspberry Pi Pico.
- 8.1 - Handling Files and Directories
- 8.2 - Datalogging Temperature to a File (Filesystem)
- 8.3 - Using a microSD Card for Datalogging
- 8.4 - Saving Variables Values Permanently (JSON Objects and Files)
Get started with Wi-Fi on the Raspberry Pi Pico. Learn how to activate the Wi-Fi and connect to a network. You’ll also learn how to make HTTP requests to get useful data from the internet using APIs.
- 9.1 - Introducing Wi-Fi on the Pico
- 9.2 - Getting Started with HTTP Requests
- 9.3 - Getting Data from the Web using HTTP GET Requests
- 9.4 - Control the Pico Remotely using Adafruit IO
- 9.5 - Sending Messages to WhatsApp using CallmeBot API
This Module covers different ways to get date and time using the Raspberry Pi Pico and how to synchronize the Pico internal clock. You’ll also learn how to use an external RTC to accurately track time, even when the board resets or loses power. Finally, you'll learn the basics of asynchronous programming.
- 10.1 - Getting Date and Time using the time Module
- 10.2 - Getting Date and Time using ntptime
- 10.3 - Synchronize Time using the Time API
- 10.4 - Keep Track of Time using a Real Time Clock (RTC) Module
- 10.5 - Asynchronous Programming using the asyncio Module
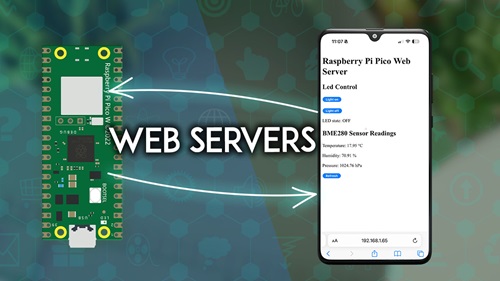
Turn your Raspberry Pi Pico into a web server that serves files to build web pages. Learn how to use those web pages to display data from sensors and interact with the Pico GPIOs to control outputs.
- 11.1 - Local Basic Web Server
- 11.2 - Saving Network Credentials on a Separate File
- 11.3 - Web Server: Display Sensor Readings and Control Outputs
- 11.4 - Serving External Files (Filesystem)
- 11.5 - Asynchronous Web Server with asyncIO
MQTT is a communication protocol widely used in IoT and home automation projects. It’s easy to use and is great for building a system to communicate with multiple devices. You’ll learn how to program the Pico to send and receive MQTT messages and we’ll also take a brief overview of the Node-RED platform to control your board(s) via MQTT.
- 12.1 - Introducing MQTT
- 12.2 - Set Up An MQTT Broker
- 12.3 - Publish MQTT Messages
- 12.4 - Subscribe to MQTT Topics
- 12.5 - Control and Monitor your Devices with Node-RED (MQTT)
The Raspberry Pi Pico supports both Bluetooth and Bluetooth Low Energy (BLE). Support for Bluetooth in MicroPython is relatively new. So, resources and information are scarce at the moment. This Module is just a short introduction to BLE and simple examples to set the Pico as a BLE peripheral and central device. We intend to expand this module in the future if the community continues working on Bluetooth with MicroPython.
- 13.1 - Introducing Bluetooth with the Raspberry Pi Pico W
- 13.2 - BLE Peripheral and Central
