Description
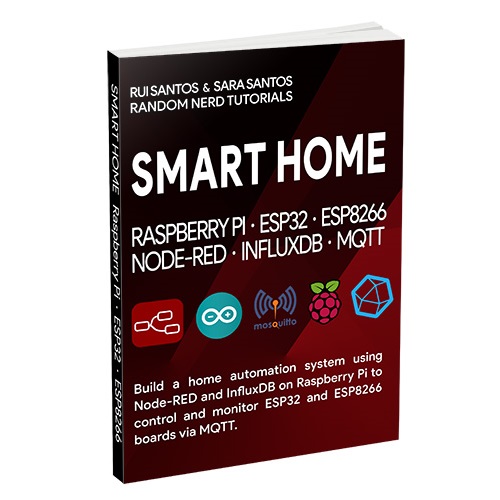
Learn Node-RED and InfluxDB on a Raspberry Pi to build a Home Automation System with the ESP32 and ESP8266.
This eBook is divided into 10 Modules. You can check the current Table of Contents below.
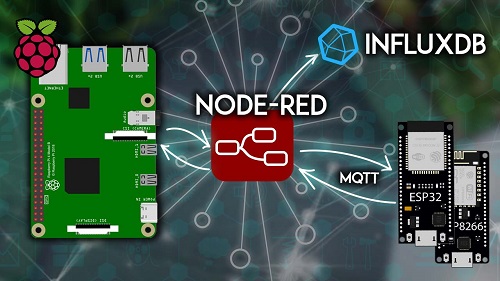
This Module introduces the eBook. It covers what you’ll learn and build, instructions on how to follow this eBook, and recommended prerequisites. We’ll also give you a quick introduction to the main subjects we’ll cover throughout the eBook: MQTT, Node-RED software, InfluxDB time-series database, Raspberry Pi, ESP32, and ESP8266 boards.
This Module is a quick introduction to the Raspberry Pi. You’ll set up your Raspberry Pi for the first time: install the operating system and establish an SSH connection with your Pi using your computer.
- Unit 1.1 Introducing the Raspberry Pi
- Unit 1.2 Installing the Operating System
- Unit 1.3 Connecting via SSH to the RPi
In this Module, you’ll get started with Node-RED software on the Raspberry Pi. You’ll install Node-RED, learn some basic concepts, and create simple flows to control the Raspberry Pi GPIOs. You’ll also learn about Node-RED dashboard, a set of nodes to easily create a user interface.
- Unit 2.1 Node-RED Introduction
- Unit 2.2 Installing Node-RED
- Unit 2.3 Node-RED Overview
- Unit 2.4 Node-RED Dashboard
- Unit 2.5 Controlling an LED with Node-RED
This section is an introduction to the MQTT protocol. MQTT stands for Message Queuing Telemetry Transport, a simple messaging protocol suitable for communication between IoT devices. Learn MQTT basic concepts, install an MQTT broker and create a simple publish/subscribe flow.
- Unit 3.1 Introducing MQTT
- Unit 3.2 Installing Mosquitto Broker
- Unit 3.3 MQTT with Node-RED
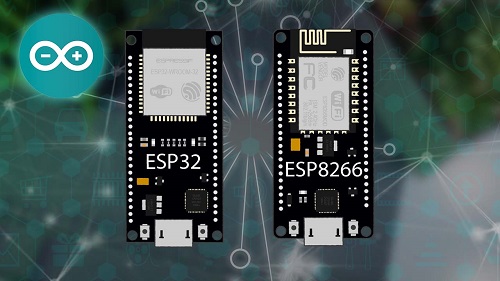
This Module is a quick introduction to the ESP32 and ESP8266 boards. We’ll take a quick look at its features, specifications, and pinout. We’ll also show you how to program your boards using Arduino IDE.
- Unit 4.1 Introducing the ESP8266
- Unit 4.2 Introducing the ESP32
- Unit 4.3 Installing Arduino IDE
- Unit 4.4 Testing the Installation
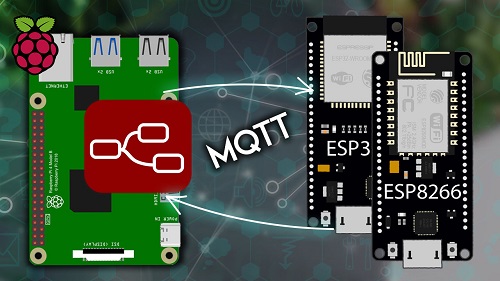
In this Module, you’ll learn how to program your ESP32 and ESP8266 boards to connect to your broker to publish messages and subscribe to topics. This way, we’ll be able to establish a communication between the ESP boards and Node-RED using MQTT. You’ll learn how to control the ESP outputs using Node-RED dashboard and to display sensor readings published by your boards.
- Unit 5.1 Connect the ESP32/ESP8266 with Node-RED (Introduction)
- Unit 5.2 Publish and Subscribe (Basic Example)
- Unit 5.3 Publish Sensor Readings
- Unit 5.4 Subscribe to Multiple Topics and Control Multiple Outputs

InfluxDB is a time-series database. Each record on the database is associated with a timestamp, which makes it ideal for data logging, IoT, and home automation projects. InfluxDB also provides dashboard tools to visualize data in different formats like charts, gauges, histograms, etc. You can easily connect Node-RED to InfluxDB and save your readings on the database and use their dashboard to analyze the data in many different formats.
- Unit 6.1 Getting Started with InfluxDB
- Unit 6.2 Install InfluxDB (Raspberry Pi)
- Unit 6.3 Monitoring your Raspberry Pi using InfluxDB Telegraf
- Unit 6.4 MQTT Node-RED InfluxDB
- Unit 6.5 Monitoring GPIO States on InfluxDB
- Unit 6.6 Getting Data from InfluxDB
- Unit 6.7 Deleting InfluxDB Data
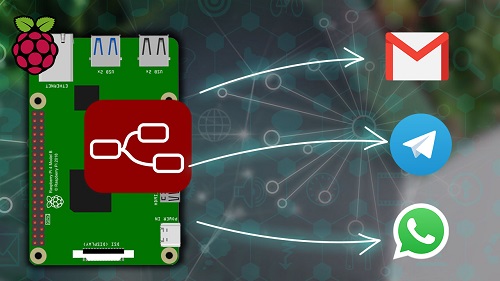
In this Module, you’ll learn how to send notifications with Node-RED. We’ll show you how to send emails, Telegram messages, and WhatsApp messages. We’ll also create a simple project to send the notification of your choice whenever motion is detected.
- Unit 7.1 Email Alerts with Node-RED
- Unit 7.2 Telegram Messages with Node-RED
- Unit 7.3 WhatsApp Messages with Node-RED
- Unit 7.4 Motion Detector with Notifications
In this Module, you’ll learn how to automatically set all GPIOs to a defined state using master switches and modes. You’ll also learn how to trigger events when something happens (a notification, a threshold value, etc.) Finally, you’ll learn how to set timers and schedule events.
- Unit 8.1 Creating Master Switches or Modes
- Unit 8.2 Trigger Events Based on Threshold Values
- Unit 8.3 Triggering Time-based Events
- Unit 8.4 Time-based Events with Big Timer
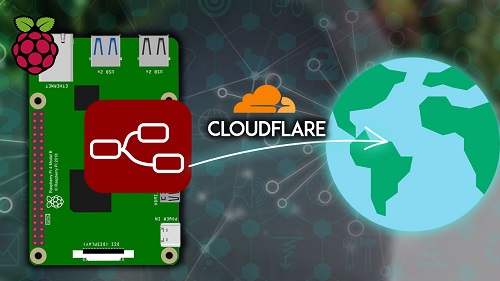
This Module explains how to set up a Cloudflare secure tunnel to access your Node-RED home automation system and InfluxD monitoring dashboards from anywhere.
- Unit 9.1 Accessing Your System from Anywhere

If you don’t have a Raspberry Pi to follow along, you can create your system on the cloud. We provide instructions for installing Node‑RED, InfluxDB, and Mosquitto broker on Digital Ocean (hosting).
- Unit 10.1 Introducing Digital Ocean
- Unit 10.2 Installing Node-RED on the Cloud
- Unit 10.3 Installing Mosquitto MQTT Broker on the Cloud
- Unit 10.4 Installing InfluxDB on the Cloud
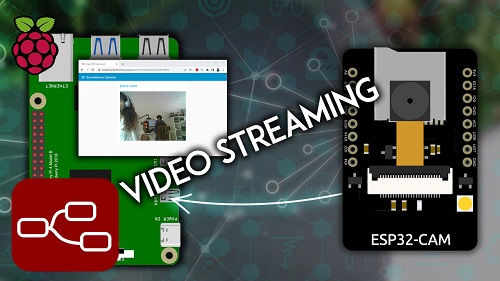
In this section, you’ll learn how to add an ESP32-CAM surveillance camera to your Node-RED home automation system. The ESP32-CAM is a development board with an ESP32-S chip, an OV2640 camera, microSD card slot and several GPIOs to connect peripherals.
- Unit 11.1 Introducing the ESP32-CAM
- Unit 11.2 ESP32-CAM Video Streaming
- Unit 11.3 Surveillance Camera on Node-RED
